Mold testing comes down to one real choice: a DIY kit tells you mold spores are present in the air or on a swab, which is almost always true in any home, while a professional inspection tells you what kind of mold you’re dealing with, where it’s actively growing, and how far it has spread behind walls or under flooring. If you can see visible growth or smell a musty odor, you likely don’t need a test at all, you need remediation. Testing earns its keep when there’s no visible mold but someone in the house has unexplained respiratory symptoms, or when a past leak makes you want to confirm the area dried out clean.
Why DIY Kits Give You Half the Picture
The petri-dish and swab kits sold at hardware stores work by exposing a growth medium to your home’s air or collecting a sample from a surface, then you mail it to a lab or watch it grow on your counter for a few days. The problem isn’t the kit, it’s what the result actually tells you. Mold spores exist in outdoor air everywhere, including around Fresno’s Central Valley, so a positive result on an air sample mostly confirms something you already knew: mold spores are present. What it won’t tell you is whether there’s an active colony growing inside a wall cavity, under subfloor near a water heater, or behind a shower surround. It also won’t tell you the moisture source keeping that colony alive, and without fixing the source, any cleanup is temporary.
DIY kits are reasonable for a first check when you’re not sure if there’s a problem at all, like a faint smell with no visible staining. They’re a poor substitute for sampling when you already have a known water event, visible discoloration, or a bulk sample that needs lab speciation to answer an insurance or health question.
When a Professional Inspection Is the Right Call
A mold inspection from a trained technician starts differently than a retail kit. Technicians holding IICRC AMRT mold certification use moisture meters and thermal imaging to find damp framing and subfloor before cutting into anything, then decide where sampling actually makes sense, surface swabs on suspect growth, air samples in a few rooms compared against an outdoor baseline, and sometimes a cavity sample behind drywall if a wall tested wet. That comparison against outdoor air is what turns a sample into useful data: a lab can tell you whether indoor spore counts and species are elevated relative to what’s blowing around outside, which a retail kit’s single reading can’t do.
This matters most after any of the following:
- A pipe leak, roof leak, or appliance failure that sat for more than a day or two before discovery
- Visible staining on drywall, baseboards, or ceiling tile with no clear cause
- A musty smell in a specific room that doesn’t match anything visible
- Pre-purchase due diligence on an older Fresno home with a raised foundation or crawlspace
- Symptoms that improve when someone leaves the house and return when they’re back
What Not to Do While You’re Figuring This Out
Don’t paint or caulk over a stain before you know what caused it. Covering a moisture stain doesn’t stop the growth underneath, it just hides your only visual indicator that something is wrong. Don’t run a fan or air purifier aimed directly at suspected growth before testing, since that can scatter spores into rooms that were previously clean and skew any air sample you take afterward. Don’t rely on a bleach wipe-down of visible mold on a nonporous surface as a final fix if the growth is on drywall, wood, or any porous material, since bleach doesn’t reach spores embedded below the surface and the growth typically returns.
If the mold followed a specific water event, like a slow leak under a sink or a Fresno winter storm that got under a door threshold, treat the water as the problem to solve first. Mold doesn’t need long to take hold, colonization on drywall paper or wood framing can begin within roughly a day or two of sustained dampness, so the clock that matters is how fast the material dried, not how fast you scheduled a test.
What Remediation Looks Like Once You Have an Answer
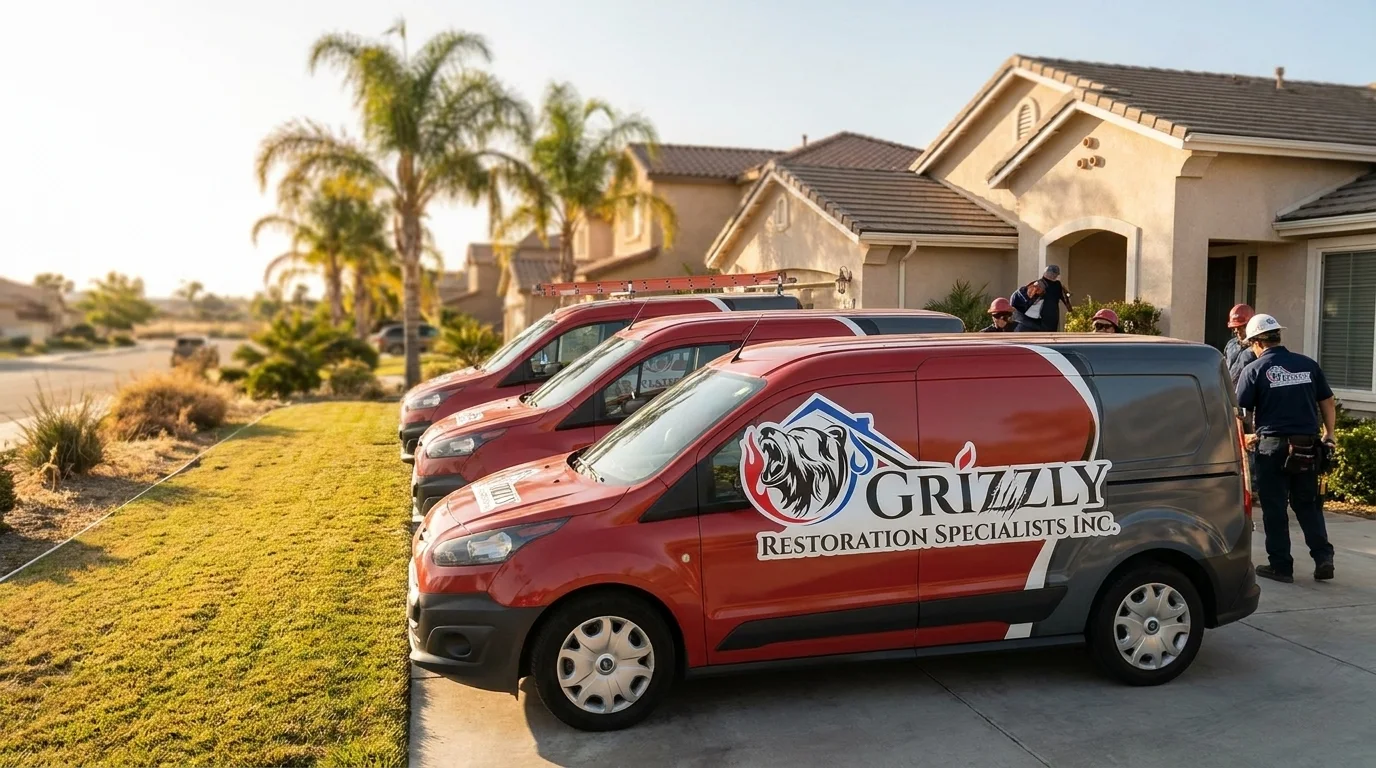
If testing confirms active growth, or if the visible extent is obvious enough that testing would just confirm what everyone can already see, the next step is containment and removal, not more sampling. A typical remediation sets up negative air pressure and plastic containment around the affected area, removes and bags porous materials that can’t be cleaned, HEPA-vacuums and treats salvageable surfaces, and runs air scrubbers through the containment while drying equipment addresses any remaining moisture. Grizzly Restoration’s mold remediation technicians handle this phase, and in cases where the cause was a known water intrusion rather than long-term humidity, that work often ties directly into water damage drying so the source gets fixed, not just the symptom.
Post-remediation verification, a final check (sometimes with another air sample) to confirm the space is clear before containment comes down, is the step that closes the loop and gives you documentation if you ever need it for a home sale or insurance file.
Making the Call
A DIY kit is a fine first move when you’re uncertain and there’s nothing visible to point to. Once you have a water history, a visible stain, or ongoing symptoms tied to a specific room, a professional inspection gets you an actual answer instead of a general confirmation that spores exist, which they always do. If you’re in Fresno and want a technician to look at a specific area, moisture-map it, and tell you honestly whether you’re looking at a cleaning job or a remediation job, Grizzly Restoration’s mold inspection and testing team can walk the space and explain what they find before any work starts. Call (559) 417-5369 to schedule a look.